Today, I would like to write about how to create an international mail label.
According to the Japan Post website, starting March 1, 2024, handwritten labels will no longer be accepted for sending items overseas. However, shipping labels for documents (EMS) that don’t need to be checked through the customs electronic transmission can be written by hand.
Click the link of Japan Post Website below for more information.
How to send a package overseas by Japan Post
When you want to send a package from Japan overseas, you must create a label from Japan Post’s dedicated website. You can check for more information the link below.
International Mail My Page Service
I will explain the label-creation process. If you are using your cellphone to create the lable, the view might be different from what I’m going to show you next, so please check here for the cellphone version.
First, esarch for “International Mail My Page Service” and click on it.
You will be directed to a page like the one below.
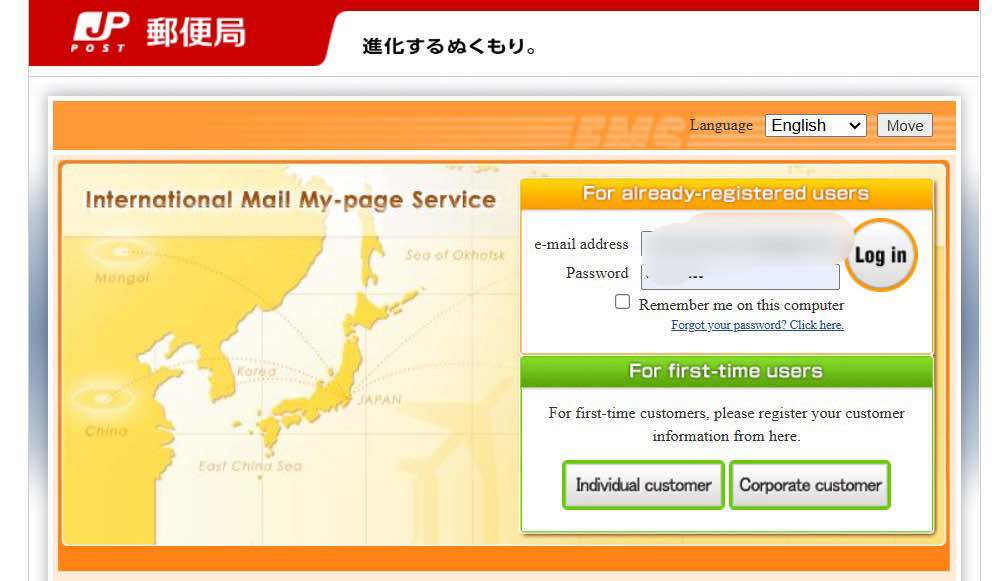
If you are using it for the first time, select “Individual Customer” and register the necessary information to create your login page. Once registration is complete, you can log in as usual using the registered email address and password to proceed to label creation.
After Logging In…
When you have successfully logged in, you will see something like the page below. Click on “Create New Labels,” which is shown on the upper left side of the page.

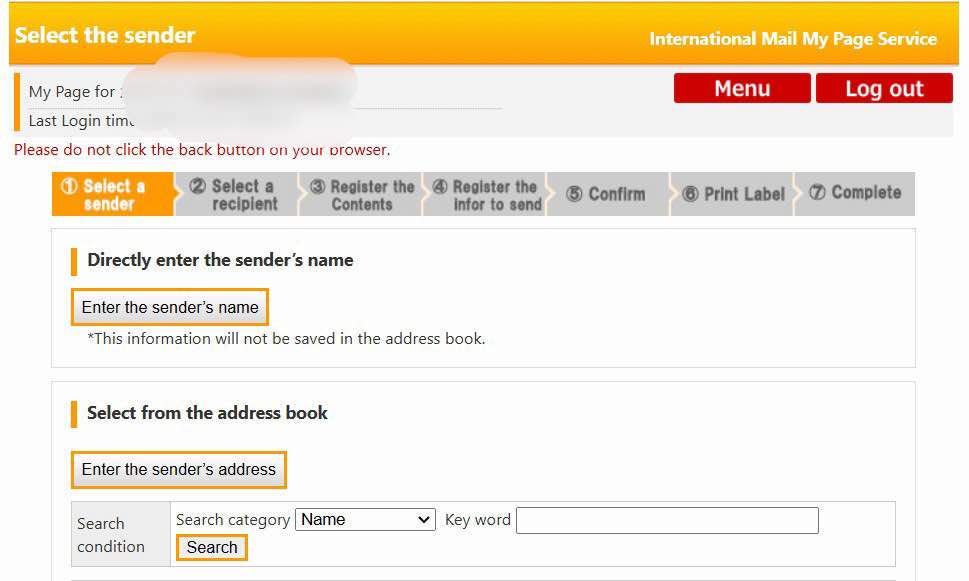
After clicking “Create New Lables,” you will see “Enter the sender’s name” and “Enter the sender’s address” as it is required to fill in.
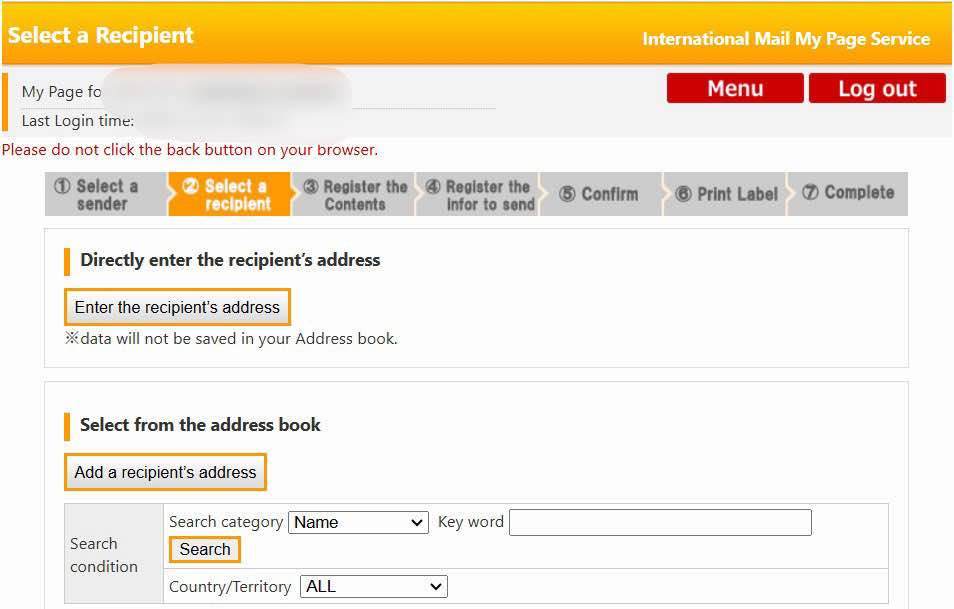
Next, Click “Enter the recipient’s address” and also the recipient’s name as it is required to fill in.
I usually send my package using “EMS (Goods),” so click on that.

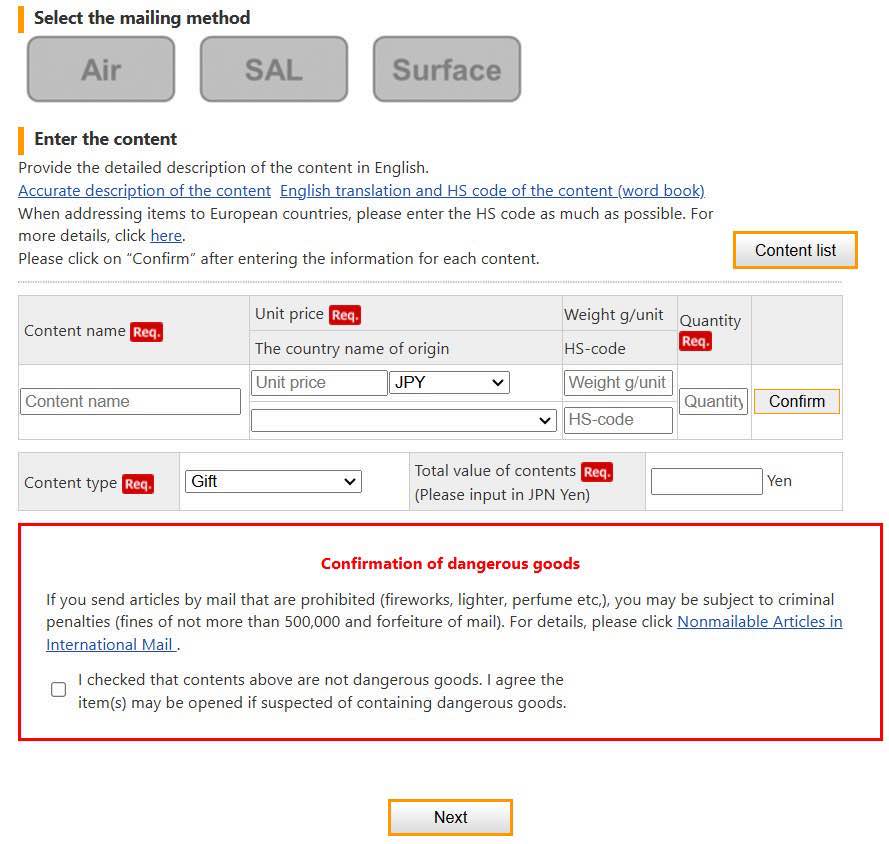
If you scroll down a bit on that page, you will see the required sections in red, where you must fill in the items you are sending.
Regarding the required input for “Quantity,” for example, if you are sending a bag that contains 20 indivisually sealed crackers, you can enter the quantity as “1” for one bag.
The “HS Code” is not mandatory, so if you do not know it, you can leave it blank. Note: It’s recommended to fill it out if you are sending items to Europe.
Next, see the section “Content Type” at the bottom of the attached image; select “Gift.” The total amount for “Total Value of Content” will be automatically calculated, so please check to ensure that it matches with the “Unit Price” next to the “Content name.”
Finally, check the box for “Confirmation of dangerous goods,” then click “Next” to proceed to the “Mailing-related Information” page.

For “Gross Weight (Weight after Packaging),” it is ok not to fill this in during label creation, as the post office will weigh your package and assess the corresponding shipping fee on the day of shipping.
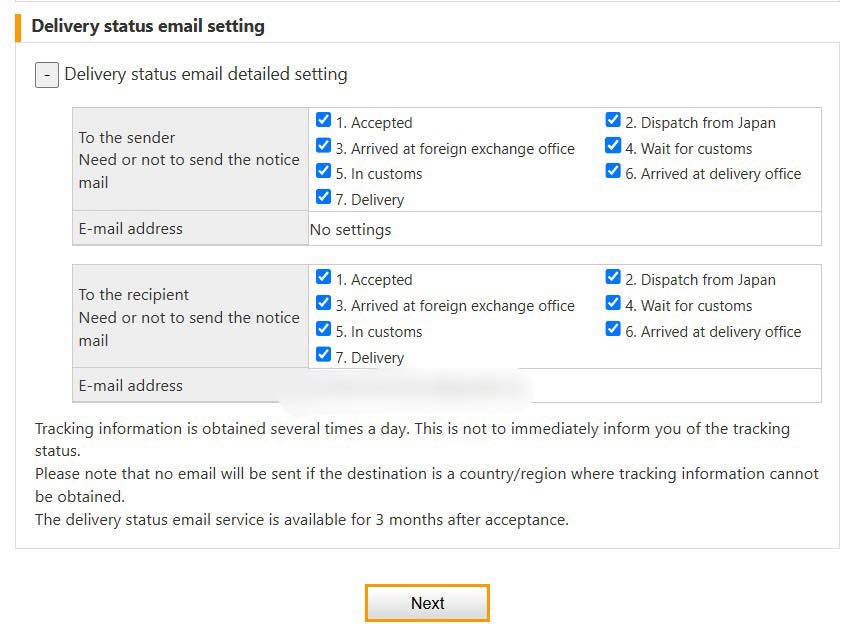
For the delivery status, if you click “Delivery status email detailed setting” as the “+” and check all the boxes (I check all of them), you will receive emails regarding the status of your package, which is reassuring. Once you’ve completed all entries, print the label and take it along with the package to your nearest post.
Apparently, according to Chinese Customs regulations, items with a total cost below 1000 RMB (about $150) including shipping, are allowed to be imported into the country. However, for my package from Japan, the total cost was written as more than 1000RMB.
If the total value exceeds this amount or if there are errors in the amount indicated, the recipient may be summoned to the customs office, so please be cautious. I have been called before regarding this issue, and I have written about it in a previous blog. hehe
Also you can track your package with your 13 digit shipping number. Please try entering your the tracking number (inquiry number) from the link below.
Entering tracking number/notification number
I hope this blog post will be helpful for people who will ship items from Japan to foreign countries!
Thank you for reading!
